Showing posts with label terrain. Show all posts

Sunday, February 22, 2015

to add to the storage problem!!

I feel quite positive about my terrain building for my modern city as I think I can see the end of the road as far as a building list goes.  I am going to try to make at least one of every building I have purchased, and more than one of some of them, and in addition to this I am going to complete my list of additional street furniture.  After this I have other terrain projects, and many more painting projects, to work on.
This week I have been working on the Auto park set.  It looks a bit rough in the photos and, while it is by no means perfect, it is a bit better than the photos suggest!!! (honest!)
I have had this set for quite a while and have put off making it for some reason.  I am not sure why this is so as it is a straight forward set and a different type of building to others I have already constructed.
There are three buildings in the set - a garage, a car sales room and a carwash, which I assume can be used together or individually as takes your fancy when building your board.  All will be useful as they are individually quite small buildings and so can be easily fill the edge zones of the table.

 The carwash has print outs for the brushes, but for the life of me I couldn't understand how they went together!!  In the end I just left them off - it will probably make the inside more usable anyway.
 The next is a car showroom.  I need to add a bigger sign to this as it isn't as obvious as it should be.  There are plenty of signs in the pack and so it is just a case of printing another out and mounting it on some card - will take a few minutes at worst.
 The last of the three is the garage/workshop.  A nice building that could equally be part of a town centre or a back street/ suburban board.
The file also comes with lots(!) of vehicle kits, and I mean lots.  However, they look a little too fiddly for me and I am working on building up my metal car collection which means I probably won't build any.
Anyway, these are now balanced precariously on my already too full shelves.  I am planning on making a building a week until my internal builingometer registers 'full',  but that shouldn't be for a few weeks yet!
Thanks for reading, Have a good week everyone!

Saturday, February 14, 2015

a bonus to being back to school....


Or Shed loads o' sheds!!!
In a previous post I spoke about the fact that I had built some garages but had not printed off enough roofs to finish them off.  Well, one of the good things about starting back to school is that I again have access to good quality printers and so have now finished this little job.


 I feel that 3 double garages should be enough for most games I intend to play....
 ......especially as I took the opportunity to print and build seven single garages!
 Again, all have removable roofs so that they can be searched for supplies.
 Below is a picture of all of the sheds and garages together.  Surely this should be enough for most games I will play...
If not, I will have to build some more!

On another subject, my 5 yr old daughter has watched me paint and make things for all of her life and for the past year (at least!) she has asked to join in and has glues and painted to her hearts content as I sit at my painting table.  However, she has taken up more and more of the space.  In the shot below I am cramped into the left hand half (Ha!) of the table.
My wife then says "seeing as you both seem intent of painting and making things, do youi want a bigger desk?"
After looking for the trap I tentatively said yes..
 And there was no trap!!!  I now have a nice new painting/modelling station :)
My half is to the right of the central leg and my daughter's to the left.  I no longer have to put figures away to make a model - I have room to have both on the go at once.  I have to point out that the table is no longer as empty as this.  When it is fully organised I will post an update :)
My daughter also loves her new space and has promised not to go onto my side....
Anyway, back to make another building :)
Have a good week!!

Saturday, January 31, 2015

back to school! (sigh!!!)

I can't really complain as I have had a good summer holiday.  It has been quite productive in terms of painting figures, building scenery for my city and restarting my blog.  This last few days of holiday have been quite quiet in terms of what I have managed to achieve.  I have had to focus more on getting ready for work and my wife decided that the bedroom needed decorating before I went back!  Not the sort of painting I was hoping to do.
Anyway, all was not lost as I still found time to complete a couple of things for my campaign.
Carrying on with the Hasslefree survivors, I managed to complete another two.  First up is Katie, another child figure.  Armed with a baseball bat and a dustbin lid, she should be able to hold her own for a round or two if need be.  I painted her in a similar 'school uniform' colour palate to her brother ( see previous post for peter.)
 A nice, quick model to paint and a useful addition to the pool of possible encounters for my game.
 The second of my two new additions is Beth, another Hasslefree miniature.  Another nice, general figure but strangely not one that inspires a 'must use' character.  Still, I suppose she will turn up somewhere.


The other thing I managed to complete was another building.  This time it was the abandoned warehouse.  Quite a simple model and quite quick to build, and the best of all, it was a free pdf from Stoelzel's structures!!
 It is the type of building that will see a lot of use in an urban game board as many places have disused buildings.  I might even make another of them to create an abandoned area of town.
 The inside is very straight forward.  It is completely empty except a set of stairs.  I have to admit that I hate building stairs in model buildings!! :(
 first floor is pretty much the same as the ground floor, as in it's empty!
 The roof has an access way for characters to get up there and escape the zombie as undead can't climb ladders :)
 There were 3 different ways of constructing the building.  The option I chose was the layer method, which allows easier access to the bottom of the building for games.

Although I am planning more buildings in the near future (in fact I purchased some more files this week!!)  I am going to run into some storage issues very soon.  These are the shelves that the foam buildings are stored on and they are getting very full.  Might need to sort out another option soon!
I am thinking that I need to paint something other than survivors next as I am a little jaded with them.  I have a couple of figures almost finished and then after them I will paint a few other things, more of which, hopefully, next post.
Until next time....

Saturday, January 17, 2015

Another week of building stuff.

 Following on from last week I have carried on building more stuff for my zombie table.  When I posted pics of 'Mad dog' the other week I made a comment that now I just had to make him somewhere to live and that got me thinking that I had the Stoelzel's structure - fire station somewhere ready printed out and ready to be assembled. I felt that this would be a good time to make it.
Here's Mad dog outside the station house - whether he did actually work here or has just moved in and began wearing the equipment after the troubles started is unknown.  Maybe someone will ask him if they run into him in the game!
The top level is the sleeping area.  It is a bit sparsely furnished at the moment - I thought that I had the lockers printed out but must have used them for something else!  I will add them later when I have had the chance to print them off.  At the school where I teach we have some very good laser printers and we have personal accounts for our own printing.  This enables me to print off rules and buildings at very reasonable rates.  It certainly beats watching the ink levels drop dramatically on my home printer!!!  The other items for this level will have to wait until the end of the school holidays - 2 more weeks - before they will be added.


The next level down is the day area.  It has a kitchen and eating area.  I will also be adding other Items to this part, such as a tv set, some chairs etc when I get chance.
 Finally, the lowest level is where the engine would be situated.  There is little else on this level.

 Madddog again by the back door.  This was a nice, simple little build and only took a couple of hour working time to put together and it adds another option for the board.
 Something else I have been working on over the last few days is extra sheds and garages to clutter up the board.  I had a few printed of from the Stoelzels 'shed loads o sheds' product but had never been bothered to put them together.  On of the things that putting your games on the blog does is that it motivates you to finish some of these little jobs!!
For some reason I had many more insides printed than outsides and so found that I only had 3 complete shed (which amazed me as I had printed out a huge pile of pages!! - another printing job when I return to work.)
 I haven't put any shelves or other contents in yet as it wouldn't leave much room for figures if there were any found.  In the same product there are lots of shelves, lawn mowers and various other shed contents.  They look a bit fiddly to me but I may have a go at some.  We will have to see if any turn up in a game.  The sheds themselves, I feel, will be very useful and I will probably make another six or so as they are only a 20 minute job to make, maybe even less.
 I did also get  most of the way through building 2 more garages only to find I hadn't printed out any roofs for them!  (added to the printing list!)
 Again, these will be useful when completed and I will probably make a few more as there are all different designs and colours included in the product.
 That is all I have built this week but on Friday I received a delivery from Litko gaming products.  In my first episode I realised that I had no way of marking some situations on the board that was easy to be seen in photographs, specifically in that game 'duck back' and 'hunker down'. I knew that Litko made some in game aids for thw games and so I purchased some that would be of use.
 These are the status tokens in the packs (although I have just noticed that hunker down appears twice!)
I am very pleased with them and look forward to using them in my games.

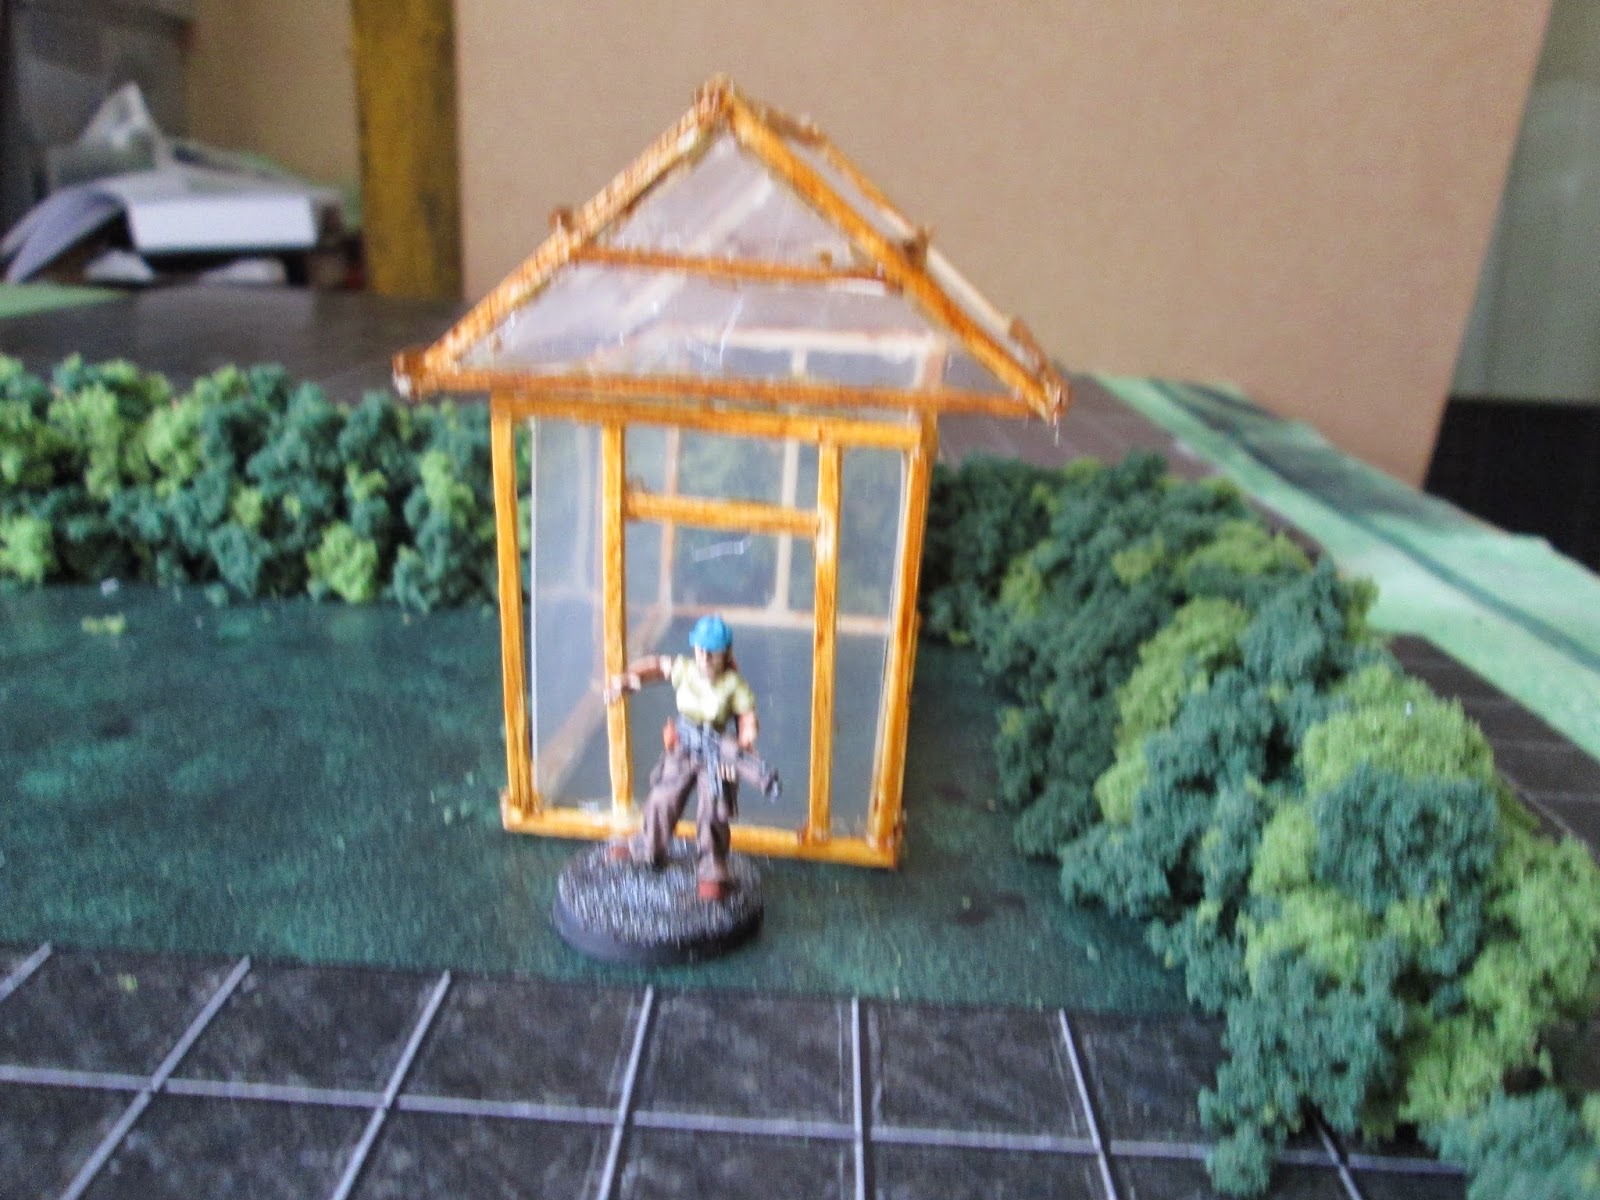
After my poor attempt at building a greenhouse last week I started looking for something better than takeout containers :)  Here in nz we have something called trade-me which is a local version of ebay and I found some 3mm acetate sheet at quite reasonable price.  I got in touch with the seller as to whether he had anything thinner and he said we would send me some offcuts of 2mm sheets if I sent him a SAE, which I did.  I am eagerly awaiting its return to see what I have been given.  Hopefully enough to make a better greenhouse or two.
That is all for this post except to say that I am going to set up the board for the next episode of my game tomorrow, and hopefully play it out over the next few days.  We shall see!!

Tuesday, January 13, 2015

a bit more board decoration for zombies

I have ran out of paint so my desert boards have come to a halt at the moment so rather than be idle I thought I would do a couple of things for my zombie board.  In previous games I have noticed when setting the board up that I lack smaller items that do nothing more in game terms than add to the visual appeal.  Now that I am putting the games on the blog I feel that this is something I need to address and so have created a list of items that I would like to work on when I have some time spare.  Hopefully they will fit in between more major items.
The list so far comprises of the following:
Skate park,
Playground,
sheds and garages,
greenhouses,
washing lines,
another garden board,
road works,
tables for outside public house or in a park,
long planters,
basketball court,
bus shelters,
carpark barrier,
bandstand,
electricity substation,
ornamental fences for public house.

If anyone can add any more to the list I would be very grateful.
As I have already stated, I will just work on these as little side projects, but over time I feel that they will greatly add to the visual appeal and variety of the playing area.
I have managed to tick a few things off the list.  Here are the ones I have completed so far.
Another garden board to help do a residential area a bit easier, complete with a green house.  The board needs edging and the black ink went in my printer when I was printing off the last page of tarmac so it's a little lighter than the rest.  Both of these are minor jobs to correct and will be done in near future.  The greenhouse was put together using matchsticks and old take away containers.  Its not very good but was a good trial as I built frame and then tried to glaze it.  Attempt 2 will be done completely opposite.  I will complete the glass structure then frame it in wood.  It should look a bit of an improvement.  Ahh well.... you live and learn.  I might need to find a better source of clear plastic as getting the panels the correct size without recycling stamps or other embossed information was a little tricky!!
 Because I was aware of it's flaws and that it would be replaced by something better in the near future, I just inkwashed the woodwork very quickly and not too carefully!

 Still.....I think it shows the idea will work, so something positive came out of it.
 I am much happier with the extra pieces for the Winch.  The tables are just plasticard and balsa.  I think that these turned out ok and will be very useful.  The chained planter fences look good.  I think that I need some flowers in them to add a bit of colour.  I will keep my eyes open for something suitable.  The chain was just from a cheap $2 shop jewelry item.


 They might trip up a few zombies if I am lucky.  They certainly won't be holding them back for long, that's for sure.


 The last items was something for the children..It is the start of a playground.  So far just a swing and a roundabout.  The roundabout was made of bits of balsa, a pushpin and some garden wire. The swing was just garden wire, more of the cheap jewelry chain and a tire from a toy car that was too small to use in a game.  I couldn't get the chain to hold using superglue so had to use a drop of hot glue, which looks a little untidy, but I will have to get something a little less obvious.


So all in all, a few bits of clutter that are ok and a few that are a bit rough around the edges at the moment.  However, I feel that they will blend into the board ok when they are used and hopefully the next versions of them will be much better!!  At least I am starting to give myself a few options in how I set things up.

Thanks for looking :)

Friday, August 16, 2013

town clutter

I am still trying to think of modern city clutter for survivors or superheroes to use for cover.  My latest attempt was to build some builders skips.  These are built to a British pattern which means my final city will be a strange mixture of European/American cultures but I am sure I can live with that!
 First I created a 'net' out of paper and when i was convinced the sides lined up to give me the basic shape I wanted, I traced it onto card and cut it out.
 I then reinforced the sides with strips of plasticard.  This took the most amount of time of the whole project!
Finally I painted them.  I made 4 all together.  The photos make them look a little rougher round the edges than they do in real life.. I suppose that I could have made the sides of plasticard as well but this would have increased the difficulty and construction time and I am very flighty at the moment!

I think that they dont look too bad and again they cost me nothing to make as all materials were already lying around my desk.  I look forward to actually using them in a game.  Just need to think of what to make next!?!?!